Introduction
When you take on DIY projects, one skill that can prove invaluable is knowing how to pour a concrete floor. Whether you’re looking to install a new patio, lay the foundation for a backyard shed, or build a robust floor for your garage, understanding the fundamentals of pouring concrete is crucial. This introductory guide aims to equip you with the knowledge you need before you dive headfirst into your next home improvement project.
‘How to pour a concrete floor’ may seem like an intimidating topic at first glance, especially if you’re new to construction or home improvement. We often associate such heavy-duty tasks with professional builders, contractors, and handymen. However, with careful planning, the right tools and materials, and a step-by-step guide such as this one, you can certainly take on this task yourself.
The process of pouring a concrete floor involves several stages – from preparing and leveling the ground to laying the formwork, mixing and pouring the concrete, and finally finishing and curing it. Each step requires attention to detail and patience. However, the result is a strong, durable surface that can withstand heavy loads and adverse weather conditions for many years.
Concrete is among the most commonly used materials in construction due to its durability, versatility, and cost-effectiveness. It’s not only used for foundations but also for driveways, patios, sidewalks, and interior floors. A well-poured concrete floor can provide a solid base for tiles, wood flooring, or carpets in indoor settings while serving as an attractive standalone option in outdoor areas.
In this blog post on ‘How to pour a concrete floor’, we’ll walk you through each step of the process in detail. We’ll cover everything from gathering your materials and tools to the final finishing touches needed to achieve a smooth and level floor. Whether you’re an experienced DIY-er or just getting started with your first major project, this guide aims to provide practical advice and useful tips that can help you pour a concrete floor with confidence.
So, put on your work boots, grab your gloves, and let’s get started on this journey of transforming raw materials into a robust and long-lasting concrete floor.
Materials Needed
In order to successfully carry out the task of ‘How to pour a concrete floor’, you will need certain materials. These are imperative to ensure the smooth execution and completion of your project, guaranteeing a solid and durable result. Here’s an overview of the essential materials you’ll need.
Concrete mix: This is arguably the most important part of your project. The amount needed will depend on the size and depth of your floor. You might want to consult a professional or use an online calculator to ensure you purchase enough.
Water: You’ll need water to mix with your concrete. Be sure it’s clean and free from any debris or contaminants that could interfere with your mixture.
Gravel or crushed stone: This will serve as your subbase, which is important for drainage and providing a level surface for the concrete pour.
Vapor barrier: If you’re pouring a floor indoors or in an area where moisture could be a problem, a vapor barrier is crucial. This will prevent moisture from seeping up through the newly set concrete.
Wire mesh or rebar: These materials will help reinforce your concrete floor, increasing its durability and resistance to cracks.
Wooden boards: These are needed for formwork; they provide a framework for your concrete pour, preventing it from spreading beyond the desired area.
Screed: A screed helps level off the top surface of the poured concrete before it begins to harden. It can be as simple as a straight piece of lumber or a special tool bought from a hardware store.
Trowel: Once the concrete starts to harden, you’ll need a trowel to smooth out the surface, ensuring a professional finish.
Protective gear: Do not forget to equip yourself with protective gear including a dust mask, safety goggles, and gloves. Working with concrete can be messy and potentially harmful if inhaled or came in contact with skin.
Pouring a concrete floor is quite an undertaking, so it pays to be well-prepared. Ensure you have all these materials before beginning your project. Doing so will help guarantee a successful outcome that you can be proud of.
Choosing the Right Concrete
When it comes to the task of how to pour a concrete floor, one of the most important factors you need to consider is choosing the type of concrete that will best suit your needs. Concrete is not just a single material; there are a variety of types and mixes available, each with its own strengths and weaknesses. The type of concrete you choose can significantly affect the durability, strength, finish, and ease of installation of your floor.
There are a few key factors you should consider when selecting concrete for your floor. The first is compressive strength. This refers to how much load the concrete can handle without breaking down. The higher the compressive strength, the more durable the concrete will be. Residential floors generally require a minimum compressive strength of 2500 psi, while commercial or industrial floors may require strengths of 4000 psi or more.
The next factor to consider is the workability of the concrete. This refers to how easy it is to mix, place, and finish the concrete. Some types of concrete are easier to work with than others. For instance, self-consolidating concrete is highly flowable and does not require much effort to place and level off. However, it can be more expensive than other types.
You should also pay attention to the drying time of the concrete. Some types dry quickly, while others take longer. If you’re in a hurry, fast-setting concrete can be a good choice; however, it might be harder to work with because you have less time before it starts to set. On the other hand, if you want more time to get the finish just right, slower-drying concrete may be a better option.
Last but not least, you’ll need to think about aesthetics– how do you want your finished floor to look? If you’re planning to leave the concrete exposed, you might want to opt for decorative or colored concrete. If you’re going to cover it with another flooring material, then this might not be as important.
Before making your final decision, it’s always a good idea to consult with a professional or an experienced do-it-yourselfer. They can provide valuable insights based on their knowledge and experience, helping you make the best choice for your project.
Remember, learning how to pour a concrete floor is just the first step. Choosing the right concrete is equally vital in ensuring a successful and lasting project.
Preparing the Site
In learning how to pour a concrete floor, one of the most crucial steps you should never overlook is site preparation. This initial step sets the stage for a successful project, ensuring that the subsequent pouring and curing processes proceed smoothly.
To start, you need to clean your site. Clear it of any debris, rocks, or vegetation that might affect the stability or level of the concrete floor. Any obstructions could lead to an uneven surface or could become embedded in the concrete, leading to potential weaknesses or cracks later on.
If you are working on virgin ground, you may need to compact the soil before proceeding. Compaction aids in preventing the ground from sinking under the weight of the concrete once it’s poured. This step can be done using a variety of tools, including a hand tamper for smaller areas or a plate compactor for larger sites.
Next comes leveling and grading. This process serves to ensure that your concrete floor has an even thickness throughout, reducing the risk of cracks and structural issues down the line. You can use a long level or a laser level for accuracy. Remember that specific slope considerations may apply if you are preparing site drainage.
Following leveling and grading is formwork installation. Formwork involves setting up wooden boards or metal forms to contain the wet concrete and shape it into your desired floor design until it hardens. Ensure these forms are sturdy and tightly-fit together to prevent any leakage of wet concrete.
If necessary, install reinforcements such as rebar or wire mesh depending on your project needs. These reinforcements help to strengthen your concrete floor and prevent cracking over time.
Lastly, before you learn how to pour a concrete floor, consider whether you need a vapor barrier. If your concrete floor is indoors and will be exposed to moisture-prone conditions such as a humid climate, a vapor barrier is highly recommended. It’s a layer of plastic, usually polyethylene, that prevents moisture from seeping up and causing damage to your concrete floor over time.
Preparing the site may sound like a lot of work, but the effort you invest in this stage will pay off in terms of longevity and quality of your finished concrete floor. Each step mentioned above ensures you have a solid foundation (literally!) when it comes to learning how to pour a concrete floor.
Setting Up Formwork
You may have asked yourself, “How to pour a concrete floor properly?” Well, the first and most crucial step in pouring a concrete floor involves setting up the formwork. The formwork or framing is the mold that holds the concrete mix while it dries and forms into your desired shape. The process of setting up formwork involves several steps.
To start with, you need to confirm the dimensions of the area to be covered by the concrete floor. This includes measuring your work area’s length, width, and depth. Remember that accuracy in these measurements is paramount as any minor error can lead to wastage of materials or an uneven floor.
Once the dimensions have been confirmed, it’s time to cut your form boards. These can be made from a variety of materials, such as plywood or plastic. However, plywood is often used due to its affordability and easy availability. The boards should be cut according to the earlier measurements.
After cutting the form boards, you will then need to secure them using stakes. The stakes are driven into the ground at regular intervals along with the form board’s outer edges. They should be hammered down until they’re flush with the top of your forms because this would ensure that your concrete does not overflow. Additionally, they provide stability and prevent your formwork from shifting under the weight of wet concrete.
The last step in setting up formwork is sealing it. This involves applying an oil-based form release product on your formwork’s inner surface. This product makes sure that after your concrete has dried, it doesn’t stick to your forms making it easier for you to remove them later on.
Please note that while setting up formwork may seem like a lot of work, doing so properly ensures you get a well-shaped and levelled floor. Also, it helps in preventing wastage of your concrete mix. Therefore, take your time to ensure that everything is done correctly.
Now that you know how to set up formwork, you’re a step closer to becoming a pro in learning ‘how to pour a concrete floor.’ The next step is mixing and pouring the concrete- but that’s for another day!
Mixing and Pouring the Concrete
Mixing and Pouring the Concrete
Once you’ve finished setting up your formwork and reinforcing mesh, you’re ready to move onto the next crucial step – mixing and pouring the concrete. Understanding how to pour a concrete floor correctly is where the real work begins. Here’s a step-by-step guide on how to tackle this phase:
1. Mixing the Concrete: The first thing to do is mix your concrete. Usually, one part cement is mixed with two parts sand and four parts aggregate (gravel). Water is then added gradually until the right consistency is attained. The mix should be wet enough to pour easily but not so wet that it’s soupy or runny.
If you’re using a ready-mix concrete, follow the manufacturer’s instructions. Typically, you’ll need about 2.5 litres of water for each 20kg bag of ready-mix concrete. You can mix this in a wheelbarrow or a large bucket using a shovel or a power mixer.
2. Testing the Concrete: Before you begin pouring, it’s important to test the consistency of your mixed concrete. This can be done by making a small depression in the surface of your mix with a trowel. If the depression holds its shape without collapsing, your concrete has the right consistency.
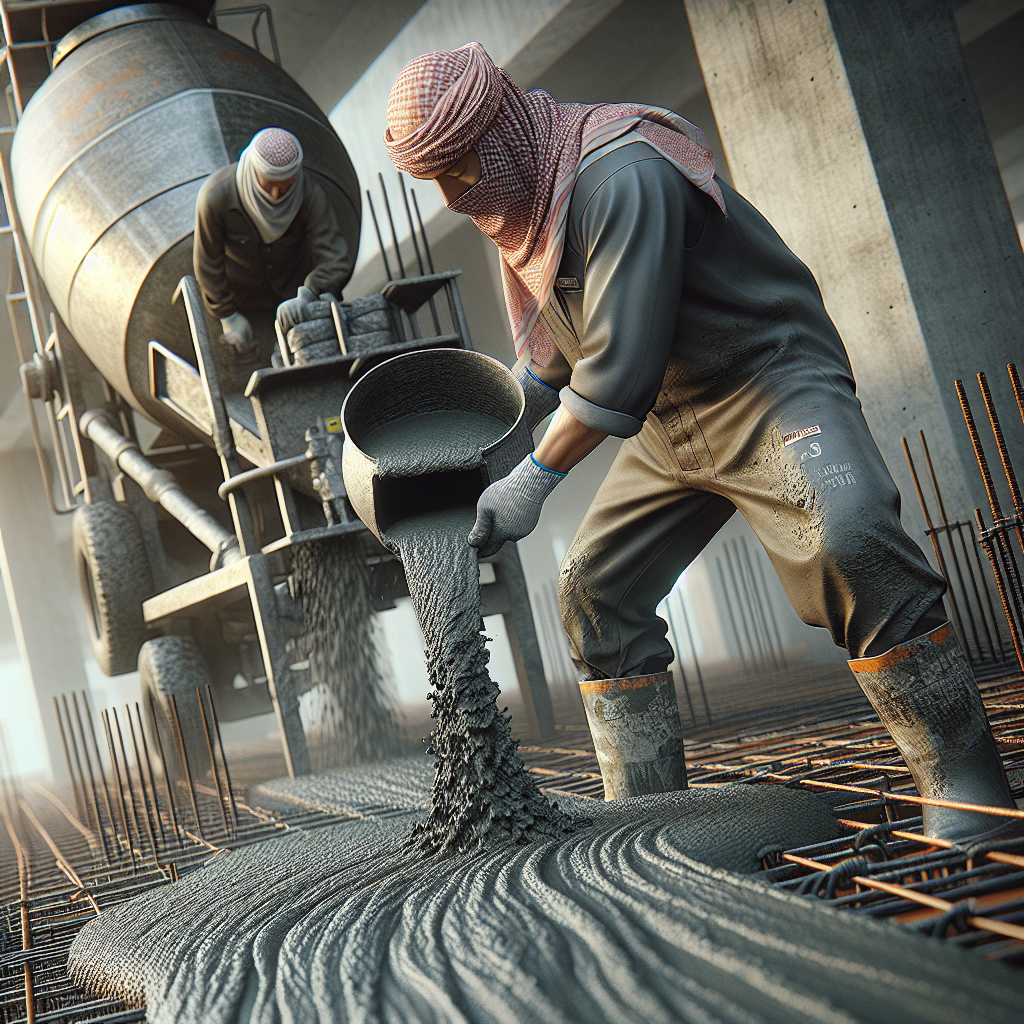
3. Pouring the Concrete: Now comes pouring the concrete into your floor area. Start from one corner and work your way across, taking care not to pour too quickly as this could create air pockets which could weaken the final product. Use a shovel or trowel to spread the concrete evenly around your floor area before moving onto pouring more.
Remember that you need to work fairly quickly once you start mixing the concrete, as it begins to set within about an hour. If you’re working on a large area, consider having some help or even hiring a concrete truck to ensure the entire floor is poured before the concrete begins to set.
By correctly mixing and pouring the concrete, you set the foundation for a strong and durable concrete floor that should serve you well for many years. To finish, simply smooth over the surface with a long straight piece of wood (a screed) and then let the concrete cure properly before moving onto any finishing touches.
Leveling and Finishing the Surface
Before we dive into the section on ‘Leveling and Finishing the Surface’, it’s crucial to understand that this step is as significant as pouring the concrete itself. Without proper leveling and finishing, even the strongest concrete mix can lead to an uneven and unattractive floor. So, here’s your guide on ‘how to pour a concrete floor’ with an emphasis on mastering the art of leveling and finishing.
Pouring a concrete floor involves a series of steps, but we will focus on leveling and finishing in this section. Once you have poured the concrete onto the designated area, it is essential to level it out evenly. For this, you will need a screed – a tool that looks much like a giant T-square. A screed is used by dragging it simultaneously back and forth across the top of your concrete forms to remove excess concrete and fill any spots that are low. This process helps create a flat, level surface.
The importance of this process cannot be overstated, as any irregularities left on the surface of your floor at this stage are likely to become permanent features – they can be extremely difficult if not impossible to correct once the concrete has set. Furthermore, an uneven surface may affect the functionality of your floor. For example, water may pool in lower areas, leading to potential damage over time.
Once all visible irregularities have been eliminated by screeding, it is time for you to start finishing your surface. One of the most common methods used for finishing a concrete floor is called troweling.
Troweling involves smoothing out the surface using a trowel – either manually or mechanically. The aim here is not just to create a smooth, visually pleasing surface but also to compact the concrete surface which increases its durability. It’s best practice to wait until water sheen has disappeared from the concrete surface before you begin troweling.
Remember to handle the trowel gently, maintaining a slight angle between the trowel and the concrete – the edge of the trowel should always touch the surface. Start from one side and gradually move towards the other end, ensuring that you cover all areas evenly.
Lastly, when learning how to pour a concrete floor, patience is key. Concrete needs time to cure, and rushing any of these steps can lead to unsatisfactory results. With careful leveling and finishing, your concrete floor will not only look good but also last for years.
Curing the Concrete
Now that you’ve learned how to pour a concrete floor, it’s time for the final, but equally important stage — curing the concrete. Curing is critical for the strength and durability of your concrete floor.
Concrete curing is a process that maintains the moisture content within the concrete for a specific period after it has been poured. This allows the concrete to reach its maximum strength and durability. If not cured properly, your concrete floor can develop surface cracks, reduce in strength and not be as durable as expected.
Immediately after pouring, you should start by keeping the surface moist. This can be done by spraying water on the surface periodically to prevent it from drying too quickly, especially in hot or dry weather. This is called ‘moist curing’, one of the most effective methods to cure concrete.
Another popular method is using curing compounds. These are special products that you spray or roll onto the surface of your freshly poured concrete floor. They form a barrier against rapid evaporation, ensuring that there’s enough water within the mixture for proper hydration — the chemical reaction required for the hardening of concrete.
You could also use plastic sheeting or wet burlap to keep moisture locked in. However, this method requires careful attention as you need to ensure the material stays wet throughout the curing period.
The curing process should ideally begin as soon as possible after pouring and finishing. The length of time required for curing will depend on several factors such as type of cement used and ambient conditions. However, a general rule of thumb suggests a curing period of at least 7 days under normal conditions (23°C or 73°F).
Bear in mind that cutting corners during this process could result in a weak and brittle floor that may need replacing far sooner than expected. When learning how to pour a concrete floor, patience in the curing stage is key. By giving your concrete sufficient time and conditions to cure, you are ensuring a stronger, more resilient, and long-lasting floor.
For a top-quality finish on your floors, remember: proper curing is just as vital as the mixing or pouring stages of creating a concrete floor.
Common Mistakes to Avoid
When learning how to pour a concrete floor, understanding and avoiding common mistakes is absolutely essential. These errors could not only affect the appearance and durability of your floor, but they can also lead to wasted time and materials, increased costs and potential structural problems. Here are a few common pitfalls that you should be wary of.
1. Failure to Properly Prepare the Site: One of the most crucial steps in pouring a concrete floor is the site preparation. The ground must be leveled, compacted and cleared of any debris or vegetation. Failing to do so could lead to an uneven surface and resultant cracking.
2. Ignoring Weather Conditions: Weather plays a significant role in concrete pouring. Excessively hot, cold or humid conditions can affect how quickly the concrete sets and its overall strength. Always check the forecast prior to work and adjust your plans accordingly.
3. Using the Wrong Concrete Mix: Not all concrete mixes are made equal and using the wrong one can lead to poor results. Be sure to select a mix that is suitable for floors, not walls or decorative elements.
4. Neglecting Rebar or Wire Mesh: Reinforcement is critical when pouring a concrete slab. It prevents cracks from forming and spreading, as well as, provides additional strength to the slab. Neglecting this step could lead to serious structural issues down the line.
5. Poor Finishing Techniques: The way you finish your concrete floor will have a direct impact on its final appearance and durability. Rushing this step or using improper techniques can result in a non-uniform texture, exposed aggregates or even unsightly cracks.
6. Inadequate Curing: Curing is not an optional step – it’s crucial. Failing to allow your concrete floor enough time to cure properly can lead to surface crazing and a weakened slab. The curing process should take at least one week, but often longer depending on the specific conditions.
7. Not Checking Local Building Codes: Before you begin your project, make sure you’re familiar with any local building codes that may dictate how you’re allowed to pour a concrete floor. Failure to adhere to these rules could result in penalties or the need for costly corrections down the line.
In conclusion, knowing what not to do is as important as knowing what to do when pouring a concrete floor. By avoiding these common mistakes, you’ll be one step closer to achieving a functional and aesthetically pleasing concrete floor.
Safety Tips While Handling Concrete
When learning how to pour a concrete floor, one of the most critical aspects to consider is safety. Concrete, although an essential material in construction, can pose certain hazards if mishandled. Here are some safety tips to observe while handling concrete.
Wear Appropriate Safety Gear
Before starting your project, ensure you have all the necessary safety gear. This includes long pants and sleeves to protect your skin from direct contact with wet concrete, which can cause chemical burns. Waterproof gloves are also essential for hand protection. Additionally, safety goggles will help prevent any debris or dust from getting into your eyes. And don’t forget sturdy boots that can protect your feet and resist wet concrete.
Proper Lifting Techniques
Concrete materials are heavy and lifting them improperly can lead to back strain or other injuries. Always lift with your legs, not your back, and avoid twisting while carrying heavy loads. If possible, use mechanical aids such as wheelbarrows or trolleys to move the materials around.
Avoid Direct Skin Contact
Direct skin contact with wet concrete over a prolonged period can lead to first or second-degree chemical burns due to its caustic nature. If you accidentally come into contact with wet concrete, wash the area immediately with clean water.
Ventilation
If you’re mixing concrete in an enclosed area, proper ventilation is crucial. Some of the chemicals found in cement mix can be harmful if inhaled in large quantities. If you’re working indoors, make sure the area is well-ventilated and consider wearing a mask for added safety.
Proper Training
If you’re new to working with concrete or undertaking a large project like learning how to pour a concrete floor, it’s essential to be properly trained. This could be in the form of a professional course or under the guidance of a knowledgeable and experienced person. Understanding the nature of the materials you are working with, their potential hazards, and how to handle them safely can prevent many accidents.
To conclude, safety should always be your top priority when handling concrete. Proper protection, lifting techniques, ventilation, and training can go a long way in ensuring your project is not only successful but also safe.
Conclusion
In conclusion, learning how to pour a concrete floor can be a challenging but rewarding task. It requires careful planning, the right tools, and a clear understanding of the procedure. Despite the complexity, the outcome of a well-poured concrete floor is worth every effort put into it. The durability and longevity that come with concrete floors are undeniably unmatched.
As we’ve outlined in this blog post, there are several steps to pouring a concrete floor, starting from preparing your work area, creating a solid base, building formwork, and ending with pouring and finishing the concrete. Each of these steps is crucial in ensuring that your concrete floor is as sturdy and durable as possible. Missteps during any part of this process could lead to cracking or other issues later on.
However, it’s important to remember that while it’s certainly possible to learn how to pour a concrete floor on your own, there’s no substitute for professional expertise. If you’re unsure about anything during this process, don’t hesitate to reach out to professionals for advice or assistance. It’s better to get help than risk having to redo your work or deal with structural problems down the road.
The most significant benefit of knowing how to pour a concrete floor yourself is the flexibility it offers. You can customize your project according to your exact specifications and preferences, whether that means adding color or texture or creating unique shapes and patterns. With patience, practice, and persistence, you can create a concrete floor that not only meets your practical needs but also adds aesthetic value to your space.
So whether you’re looking to take on a new DIY challenge or simply want to understand more about how your home is made, we hope this post has given you some valuable insight into how to pour a concrete floor. The process may be complex and time-consuming, but with the right approach, it’s an achievable project that can provide a firm foundation for your space for years to come.