Introduction to Self Levelling Compound
If you’ve ever tried to install flooring over an uneven surface, you know how difficult it can be. Not only does it make the installation process tougher, but it can also lead to long-term issues such as cracks in the flooring and discomfort when walking or standing on it. This is where a self levelling compound comes into play. A crucial tool in any builder’s arsenal, this substance can even out an irregular floor surface and provide a perfect base for any type of flooring material.
But what exactly is a self levelling compound? And more importantly, how do you use it? In this section of our blog post titled ‘How to pour self levelling compound’, we will introduce you to the basics of self levelling compounds.
A self levelling compound is a fluid-like substance that, once poured onto a surface, spreads out and naturally finds its own level. It’s typically used over concrete floors to create a smooth, flat surface. The key ingredients in most self levelling compounds are cement, sand, and some additives which impart unique properties such as quick drying or increased flowability.
Self levelling compounds are extremely useful in many different scenarios; they’re commonly used in new constructions to level out newly laid concrete floors or in renovations to smooth out old, uneven floors. If your floor has minor dips or bumps, applying a thin layer of self levelling compound can easily remedy these imperfections. For larger inconsistencies, multiple layers might be necessary.
The process of pouring self levelling compound isn’t very complex but requires precision and careful planning. How to pour self levelling compound is something that anyone can learn with a bit of practice. In this blog post, we will guide you through each step of the process and provide tips to ensure that you end up with a perfectly levelled floor.
In short, a self levelling compound is a brilliant solution to an age-old problem. It’s not a miracle cure, and it does require some effort to apply correctly, but the results are worth it. So, whether you’re a professional builder or a DIY enthusiast, mastering how to pour self levelling compound can make your flooring installation projects much easier and more successful.
What is Self Levelling Compound?
Before you learn “How to pour self levelling compound,” it’s essential to understand what a self-levelling compound is. A self-levelling compound, also known as a self-levelling cement or underlayment, is a type of high-flowing concrete mix that is used to create smooth and flat surfaces with excellent compressive strength. It’s formulated to flow and spread out evenly on a given surface without the help of tools.
The primary purpose of using a self-levelling compound is to correct uneven, out-of-level or damaged floors. It can be used directly over a concrete subfloor or over other flooring materials like plywood, ceramic tiles or vinyl. Once poured, it seeks its level and dries into an incredibly hard surface perfect for installing any flooring type. Self-levelling compound adheres excellently to surfaces offering long-lasting performance.
One of the great advantages of self-levelling compound is its quick setting time. It’s a great time saver as it can set within hours compared to traditional concrete which may take days. This allows you to move onto the next phase of your project without any unnecessary delays.
Beyond repairing uneven surfaces, it’s also used when installing in-floor heating systems. The compound can easily encapsulate the heating wires or pipes and provide a flat, level surface for the flooring installation.
Understanding how to pour a self-levelling compound requires knowledge on how much water should be added (usually indicated on the packaging), the right way to mix it, and how to ensure it’s spread evenly across the surface. Also, knowing how to prep your space by sealing off areas you don’t want the compound to flow into is crucial.
In conclusion, whether you are renovating an old floor or creating a new one, using a self-levelling compound can transform a rough and uneven surface into a flat, smooth and ready-to-finish substrate. It’s a versatile material that is easy to work with and can save both time and effort on your construction or renovation project.
Necessary Tools and Materials
In order to successfully carry out the task of pouring self levelling compound, certain tools and materials are essential. This section will provide a comprehensive list of what’s needed to get the job done.
Firstly, the most critical material you’ll need is the self-levelling compound itself. This product is available in most home improvement stores or online. It typically comes in a bag as a dry mix that you’ll have to prepare by adding water. Make sure to read the manufacturer’s directions on the bag for specific mix ratios as they can vary from brand to brand.
After purchasing the self-levelling compound, you will need a large bucket to mix it. It should be clean and large enough to hold the amount of mixture you’re planning to make. If you are working on a larger area, you might need several buckets.
For mixing the compound, you will require a drill and a mixing paddle attachment. These tools will help you create a smooth mixture with an even consistency, which is crucial for an effective self-levelling compound application. A power drill can save time and ensure proper blending of the components.
Then comes the application tools. A wide spreading tool or trowel is used to distribute the self-levelling compound across your surface evenly. This tool may come in different sizes depending on your project’s size and nature.
You’ll also need a spiked roller or rake. After pouring and spreading your compound, rolling it with a spiked roller helps remove air bubbles and ensures an even thickness over your surface area. Some people prefer using a spiked rake for this process, especially for large areas.
Safety equipment cannot be ignored while learning how to pour self levelling compound. Although the compounds are generally safe to handle, it’s beneficial to use gloves, eye protection, and possibly respiratory protection if you’re working in an enclosed space with little ventilation.
Finally, a tape measure and level will be needed to ensure the floor is level after applying the compound. It’s important to have a levelled floor for the best results and to prevent any issues down the line. These tools will help check the compound’s thickness across the floor, ensuring it’s evenly distributed.
By gathering these necessary tools and materials beforehand, you are setting yourself up for success in your project of pouring self levelling compound.
Safety Precautions
Ensuring safety is paramount when working with self-levelling compounds or taking on any DIY project. The section below will cover ‘Safety Precautions’ to remember for a successful and safe project titled ‘How to pour self levelling compound’.
Firstly, the use of adequate personal protective equipment is essential. This includes wearing gloves to prevent the compound from coming into direct contact with your skin, which can cause irritation and burns. If possible, wear long-sleeved clothing for additional protection. Also, it’s important to wear a pair of safety goggles to protect your eyes from dust or any splashes that might occur during the mixing and pouring process.
The second important safety precaution is ensuring proper ventilation. The process of mixing and applying self-levelling compound often releases fumes that can be harmful when inhaled. Therefore, ensure your workspace is adequately ventilated. Open windows and doors, or use a fan to improve air circulation if necessary.
Quite often, when learning how to pour self levelling compound, people overlook the importance of maintaining a clean and organised workspace. Keep tools tidy and out of the way when not in use to prevent accidents like tripping over them. Importantly, immediately clean up any spills as the compound can become incredibly slippery when wet and hard to remove once it dries.
Next, always ensure you read and follow the manufacturer’s instructions carefully before starting your project. Each product will have specific requirements for mixing ratios, curing times, optimal application temperatures and more. Not adhering to these can compromise both your safety and the quality of the finished floor.
In addition, if you need to mix large quantities of self-levelling compound, consider using a mixing drill instead of mixing by hand. It’s not only faster and more efficient but also safer as it reduces the risk of strain and injury.
Lastly, never rush the process. Rushing could lead to careless mistakes, increasing the risk of accidents. Always take your time, plan your work well and follow every step precisely.
In conclusion, understanding how to pour self levelling compound safely is just as important as knowing how to do it correctly. Adhering to these safety precautions will ensure a successful and safe project.
Preparation of the Surface
To ensure a successful project, the first step in learning how to pour self levelling compound is preparing the surface. This stage is critical, as it can significantly influence the outcome of your project. An improperly prepared surface might lead to an uneven finish or cause the compound to not adhere correctly, resulting in problems down the line. So, it’s essential to devote enough time and energy into this stage.
Before you start, remove any existing flooring from your surface if necessary. This might include carpet, tile or hardwood flooring. If any adhesive remains after removing the flooring, you need to scrape that off too. Remember that a smooth surface is crucial for the self levelling compound to work effectively.
Once your floor is bare and clean, inspect it meticulously for cracks or holes. These imperfections need to be filled and repaired before you can proceed. You can use a patching compound specifically designed for concrete floors if your subfloor is concrete – just ensure that it’s completely dry before moving ahead.
Next, you need to ensure that your flooring is perfectly clean. This involves sweeping and vacuuming the entire area thoroughly. Even the smallest debris can disrupt the levelling process, leading to bumps and irregularities in your final flooring. It’s also a good idea to wash the surface with a degreasing solution, especially if there are any grease or oil stains. These substances can prevent the self levelling compound from adhering correctly.
If your floor is wooden or not moisture-resistant, you may need to prime it before you apply the self levelling compound. Priming helps provide a moisture barrier between your floor and the compound, preventing any potential water damage. There are specific primers available for this purpose – just make sure they’re fully dry before proceeding.
Lastly, once you’re certain that your floor is clean and smooth, you need to place a self-adhesive foam strip around the perimeter of the area where you’ll be applying the self leveling compound. This strip acts as a temporary dam, preventing the compound from flowing into areas where it is not needed.
Remember that preparation is everything when it comes to how to pour self levelling compound. Spending extra time on this step will ensure a smoother application process and a more professional result.
Mixing the Self Levelling Compound
Once you’ve gathered all your necessary materials and prepped your floor for the application of the self levelling compound, it’s time to move into the critical stage of the project – Mixing the Self-Levelling Compound. This stage is crucial because getting the consistency just right determines how well the compound will flow and level out on your floor. So, how do you ensure you get this step right when figuring out how to pour self levelling compound? Let’s find out.
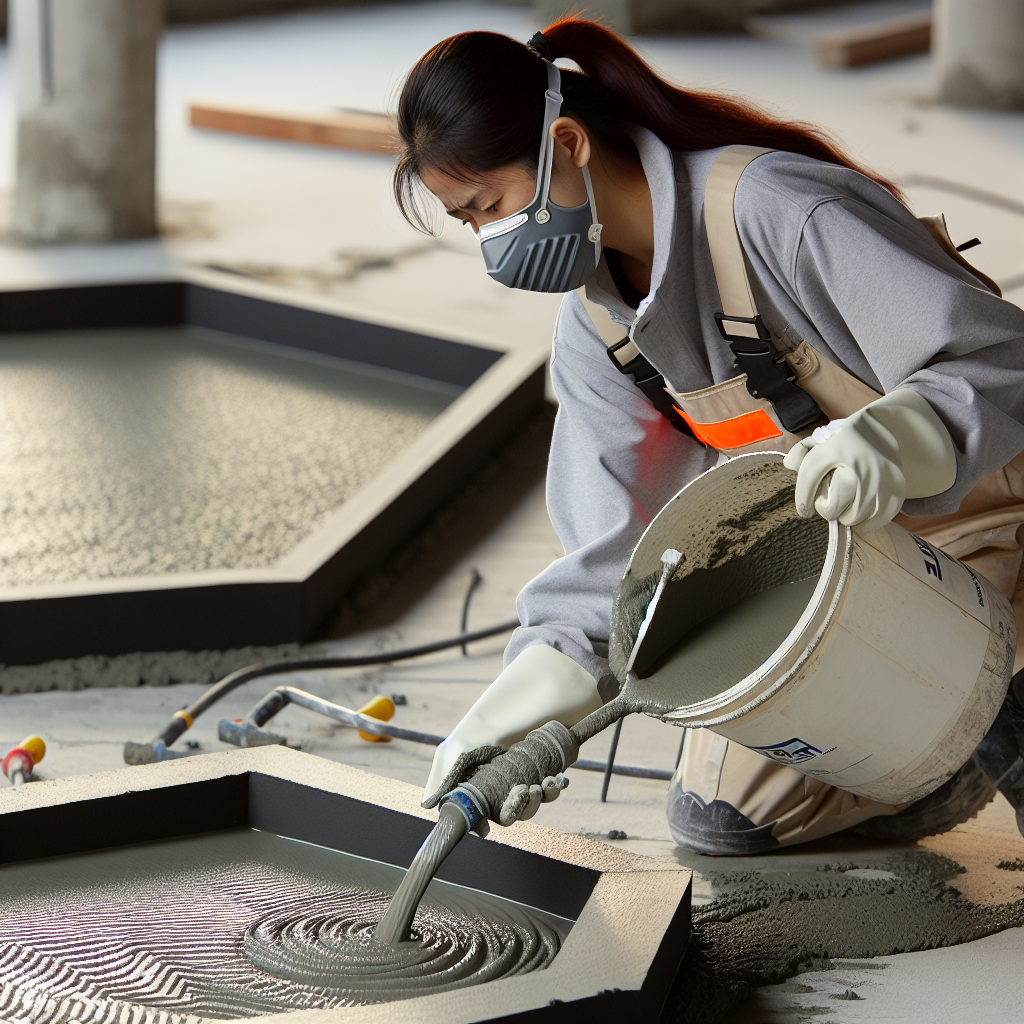
Firstly, safety should be your number one priority. Always make sure you’re wearing suitable protective gear – gloves, goggles, and a dust mask, as the powder can be harmful if inhaled or comes in contact with your skin or eyes.
Start by pouring a measured amount of clean, cool water into a clean bucket. The quantity of water you use should align with the manufacturer’s recommendations on the packaging of your specific self-levelling compound. Using too much or too little water could result in a mixture that is either too thin or too thick for proper application.
Next, slowly add the self-levelling compound powder to the water while stirring. It’s recommended to use a powered mixing paddle attached to a drill for this process, but a simple hand trowel can also work. Keep adding the powder gradually while mixing until you achieve a smooth, lump-free consistency akin to that of heavy cream. Avoid over-mixing as this can introduce air bubbles into the mixture that could affect its levelling ability.
Once mixed, most self-levelling compounds need to sit (or ‘slake’) for a few minutes before use. This allows time for the chemicals to react with each other and ensures better bonding once applied. After letting it slake, stir it one more time gently before application.
It’s important to note that self-levelling compounds typically have a short working life – they begin to harden after about 20 minutes. Therefore, only mix as much compound as you can use in that time frame.
Mixing self-levelling compound might seem like a daunting task but with the right tools, protective gear, and attention to detail, you can mix your self-levelling compound effectively and efficiently. Ensuring proper consistency is key to achieve a smooth, level floor. Once you’ve got the hang of mixing the compound, you’ll be well on your way to mastering how to pour self levelling compound like a pro.
Applying the Self Levelling Compound
Now that we’ve covered the basics, let’s delve deeper into the main event: applying the self levelling compound. This is a critical step to ensure a smooth, level surface, and it’s where our guide titled, ‘How to pour self levelling compound,’ becomes truly handy.
The first step involves mixing the compound. Always follow the manufacturer’s instructions on the bag for the correct water to powder ratio. Typically, you will add water to your mixing bucket first, then gradually add the compound while stirring. Mix until you achieve a lump-free consistency similar to pancake batter. Remember not to mix more compound than you can use within its pot life (usually around 20 minutes).
Before you start pouring the mixture, make sure your floor is clean and dust-free. Use a vacuum cleaner or mop if necessary. Applying a primer beforehand is also recommended as this helps the compound adhere better to the surface and reduces air bubbles.
When it comes to pouring the self levelling compound, start from one corner of the room and work your way out towards an exit to avoid stepping on the freshly poured area. Pour out your mixed compound onto the floor and spread it evenly using a trowel or spreader, ensuring all low spots are filled.
The self-levelling compound does exactly what it says – it levels itself out after being poured. However, don’t expect this process to correct large areas of unevenness on its own. It is important that you help guide it into place with your tool of choice.
Once poured, give some time for the compound to self-level and start curing. Avoid walking on or disturbing it during this time. Curing time can vary between products but typically takes around 24 hours to fully harden.
Applying self-leveling compound may seem like an intimidating task, but with patience and the right tools, it’s definitely doable. So, are you ready to take on the challenge? Remember, practice makes perfect, and soon you’ll be pouring self levelling compound like a pro.
Tips for Ensuring a Level Finish
After understanding how to pour self levelling compound, it’s equally important to ensure that the finish is also level. This will guarantee a smooth, flat surface for installing any type of floor covering. Here are some tips to help you achieve a perfect level finish every time.
Firstly, before you begin pouring the self levelling compound, make sure that your subfloor is clean and free from debris. Any dust, loose particles or irregularities on the surface may interfere with the compound’s ability to spread out evenly. Therefore, always sweep or vacuum the area thoroughly and then wipe it down with a damp cloth if necessary.
Secondly, always mix the self levelling compound according to the manufacturer’s instructions. The consistency of the mixture plays a vital role in determining how evenly it spreads and settles on the floor. Too thick or too thin a mixture could lead to an uneven finish. Therefore, following the recommended water-to-compound ratio is crucial.
Next, pour the compound onto the floor in a consistent and controlled manner. Start at one corner of the room and work your way towards an exit point so that you don’t walk over freshly poured areas. Pouring too much compound at once can cause it to pool and create high spots; pouring too little might not cover low spots adequately. Balance is key here.
After pouring, use a spreader or smoothing tool to help distribute the self leveling compound across your floor. This encourages an even layer across the entire surface. Always move in one direction to avoid creating air bubbles which can contribute to an uneven surface.
Additionally, let gravity do its job. Self levelling compounds are designed to naturally find their level without much interference. So once you’ve spread it out, give it some time to settle before assessing if more needs to be added.
Last but not least, allow ample time for the self levelling compound to dry before installing your flooring. Rushing this step can lead to an uneven finish and may damage your new floor covering.
While these tips should help in achieving a level finish, remember that practice makes perfect. Don’t be discouraged if you don’t get it right on your first try. With patience and a bit of trial and error, you’ll soon master the art of pouring self levelling compound.
Drying Time and Aftercare
Once you’ve successfully mastered how to pour self levelling compound, the next critical step is allowing it sufficient time to dry properly. Depending on the type of compound used and the thickness of the application, drying times can vary. As a general rule, most self levelling compounds will be touch-dry within a few hours. However, it’s advisable to leave it undisturbed for at least 24 hours to ensure it has fully cured. This curing time is essential for the compound to achieve its maximum strength and durability.
For thicker applications or damp climates, the drying time may extend to 48 hours or more. To ensure optimal results, always check the manufacturer’s instructions that come with your specific product. Remember that rushing this process can lead to subpar results like cracking or uneven surfaces.
Once your floor has dried and cured, it’s important to apply a suitable sealant. This will protect your fresh self levelling compound from moisture, wear and tear, and other forms of damage. A good quality sealant will also make cleaning easier and prolong the life of your new floor.
Also, aftercare is an aspect that should not be overlooked. To maintain the levelled floor’s condition for a long term, make sure you keep it clean and free from debris. Avoid dragging heavy furniture or sharp objects across the surface as they can scratch or damage your newly levelled floor. If you must move heavy items across it, use a wheeled dolly or lay down a sturdy protective sheet.
In case minor scratches or damages do occur over time – don’t panic! Small imperfections can usually be filled with a small amount of self levelling compound and smoothed over with a trowel.
In conclusion, knowing how to pour self levelling compound is just the first step. Proper drying time and aftercare are crucial components of the process that ensure you achieve a flat, smooth and durable surface that will stand the test of time.
Conclusion: Benefits of Using Self Levelling Compound
In conclusion, understanding ‘how to pour self levelling compound’ and the benefits of using it can significantly improve the quality of your flooring projects. The benefits that come with the use of self-levelling compounds are significant and worth considering.
Firstly, this material offers an easy way to achieve a smooth and flat surface. Even if you’re not a professional builder, with a keen eye for detail and a willingness to follow instructions, you can easily deal with uneven or rough floor surfaces. This helps in setting an ideal foundation for any floor covering type you may want to install whether it’s carpet, tiles or wooden planks.
Secondly, due to its fluid characteristics, self-levelling compound is capable of filling in gaps and depressions on its own. This eliminates the need for manual evening out, making your work easier and quicker. Whether you’re dealing with minor dips or major cracks, the compound will flow into these areas and level itself out. Another great advantage is that it generally dries out faster than other types of floor levelling solutions.
Moreover, using self-levelling compound enhances the durability of your floor. When applied correctly, it forms a hard layer that can withstand heavy foot traffic and weight for extended periods. It’s also resistant to moisture which makes it a great choice for areas such as basements and kitchens where spills and dampness are common.
The use of self-levelling compound also extends the lifespan of your floor coverings. By providing a level surface, it ensures that your carpets, tiles or wooden floors fit correctly without any bulges or gaps. This minimises wear and tear thus saving you money in replacements in the long run.
Lastly, it’s worth mentioning that learning how to pour self levelling compound is a skill worth having. While it might seem intimidating at first, once you get the hang of it, you’ll find it to be a rather straightforward process. With this skill under your belt, you can take on more DIY projects and possibly save on contractor fees.
In summary, the benefits of using self levelling compound extend beyond just levelling your floors. It’s a solution that makes the task of floor preparation easier, faster, and more effective. So whether you’re looking to renovate your home or embark on a new construction project, self-levelling compound is a tool worth considering for perfect, even floors.