Introduction to Shed Slabs
Whether you’re a seasoned DIY expert or a complete novice, the building of a shed starts with one crucial component; the concrete slab. This foundation is not just a simple flat surface where your shed will sit. It’s also an important element that guarantees the stability and durability of your structure. The shed slab needs to be level, sturdy, and properly insulated to protect your items from dampness and ensure that your shed stands the test of time. Therefore, learning how to pour a shed slab is an essential skill you need to master when planning to construct a shed.
Concrete is by far the most popular choice for shed foundations because it’s relatively easy to work with, and once set, it provides a solid base that can withstand heavy weight and extreme weather conditions. However, pouring a concrete slab requires some heavy lifting and serious attention to detail as minor mistakes could potentially throw off the entire project.
The process involves preparing the site, laying out the slab dimensions, installing formwork, adding reinforcement, mixing and pouring concrete, and then finishing and curing the slab. Each step has its own specifics that need careful consideration. Failing at any of these stages can result in an unstable slab that could crack or shift over time.
Understanding all these steps could seem intimidating at first. But don’t worry! This blog post will walk you through all you need to know about how to pour a shed slab correctly. By following our comprehensive guide with clear instructions and helpful tips, you’ll be well-equipped to tackle this project with confidence.
After reading this post, you’ll feel more comfortable creating your own solid foundation for your shed. Not only will this save you money compared to hiring professionals but also give you a great sense of accomplishment knowing that you’ve built a truly sturdy and reliable base for your shed. Learning how to pour a shed slab is undoubtedly a valuable ability that will come in handy for future projects as well. Stay tuned and let’s get started!
Necessary Materials and Tools
If you’re wondering ‘How to pour a shed slab’, the first thing you’ll need is a list of necessary materials and tools. Creating a shed slab requires more than just concrete. It’s essential that you have all the required elements at your disposal before embarking on this task.
Firstly, you will need concrete mix. The quantity depends on the size of the shed slab you’re planning to pour. A standard guideline is to use about one 80-pound bag of concrete mix for each four square feet of area.
Another crucial material is lumber. You’ll need this for creating forms to shape your slab. A good benchmark is two-inch-thick lumber, though the exact dimensions can be adjusted according to your needs.
You’ll also require rebar or wire mesh to reinforce the concrete and prevent it from cracking. Additionally, ensure you have enough bags of gravel for the base of your slab, and plastic sheeting to act as a vapor barrier beneath the concrete.
Moving onto tools, there are several necessary items. A wheelbarrow or cement mixer is essential for mixing your concrete. You’ll also need a shovel for moving materials around and spreading out the concrete.
A mason’s trowel or a bull float is used for smoothing out the poured concrete, while an edging tool helps create professional-looking edges on your slab. A broom will come in handy for giving a non-slip finish to the slab surface.
Lastly, don’t forget about safety. Concrete work can be messy and potentially harmful if precautions aren’t taken. Always wear safety goggles, gloves, and protective clothing.
Before starting, make sure you have all these materials and tools on hand. Having everything ready will not only make the job easier but will also result in a more efficient and successful shed slab pour.
Remember that each project may require different types and quantities of materials and tools, so always plan according to your specific needs. Now that you’re equipped with the knowledge of what’s required, you’re one step closer to learning how to pour a shed slab successfully.
Selecting the Right Location
Selecting the right location is arguably one of the most important steps in learning how to pour a shed slab. While the process of pouring the slab itself is critical, if you don’t first choose the right site, you could encounter a host of problems further down the line.
The perfect site for your shed slab should be flat, well-drained, easily accessible, and away from trees or shrubs that may cause root interference. It’s also crucial to consider the purpose of your shed. Are you planning to use it for storage, as a workshop, or possibly an outdoor office? Each of these purposes might require different considerations when selecting a location.
Firstly, if your selected location is not flat, you may need to do some ground work to level it out before you can even begin thinking about how to pour a shed slab. This might mean hiring equipment or professionals to help, which could add extra cost and time to your project.
Drainage is another key factor. If water tends to pool in the area after rain, this could cause issues with your concrete slab down the line. It’s also worth noting that if your shed will be housing anything electrical or potentially damaged by water, it’s essential you ensure good drainage in the area.
Trees and shrubs can also pose a problem. Their roots can interfere with the integrity of your slab and may cause cracking over time. It’s best to find an area clear of any large plants or trees if possible.
Last but not least, consider accessibility. You’ll be carrying heavy tools and materials to and from your shed regularly during construction. After it’s built, you may need access for large items or machinery depending on its use. Ensure that the pathway is clear and convenient for frequent trips without causing damage or inconvenience.
To sum up, selecting the right location is a crucial first step in learning how to pour a shed slab. It might be more time-consuming than you initially thought, but taking the time to carefully choose the ideal location will save you from potentially costly and frustrating issues in the future.
Preparing the Ground
The first step in learning ‘How to pour a shed slab’ is to prepare the ground on which the concrete slab will be laid. Not rushing through this crucial stage and ensuring that it is done meticulously can save you a lot of trouble down the line. So, how do you go about preparing the area for your shed slab?
First, you need to select a suitable location for your shed. Consider factors such as ease of access, exposure to sunlight, and distance from plants or trees. Once you have selected the site, demarcate an area slightly larger than the size of your shed. This extra space will allow for any adjustments that may need to be made during the installation process.
Next, begin clearing the marked area of any grass, rocks, roots or other debris that may interfere with the foundation of your shed. Use a spade or a sod cutter to remove grass and topsoil. It’s essential to remove all vegetation as organic matter can decompose over time causing instability in your slab.
After clearing, it’s time for leveling. An uneven base can lead to cracking and structural issues with your slab down the road. Use a long level and a rake to ensure that the ground is flat and even. You may also consider renting a plate compactor for this task as it provides an excellent way to ensure that your soil is compacted and sturdy.
Once your ground is cleared and leveled, you’re ready for the next step: creating a timber formwork or frame around the perimeter of the cleared area. This frame will act as a mould for your concrete pour, so make sure it’s sturdy and straight.
Lastly, lay down a layer of crushed stone or gravel within your frame. This helps with drainage and gives additional stability to your slab. Make sure the gravel layer is compact and level.
Keep in mind that the preparation process can vary slightly based on the specific type of shed and the area you live in. If you live in an area with very sandy soil, for example, you may need to dig a little deeper and use more crushed stone for your base. In colder regions, it may be necessary to dig below the frost line and insert insulation to prevent ground freezing from affecting your slab.
Preparing the ground thoroughly is crucial in learning how to pour a shed slab. It sets the stage for everything that follows, and doing it right can save you time, money, and lots of headaches in the future.
Setting up the Formwork
Setting up the formwork is an essential part of learning how to pour a shed slab. Formwork serves as a mold to hold the wet concrete in place until it hardens. It shapes the concrete, allowing you to design your shed slab with precision and accuracy. Therefore, proper planning and setup are crucial for achieving the desired outcome.
Before starting the formwork setup, it’s vital to ensure that your work area is clean and free of obstacles. Choose a flat and stable area where you can safely set up your formwork without any risk of it tipping over or shifting during the pouring process.
Once the area is ready, begin by outlining the shape of your shed slab using wooden stakes and builder’s line. These lines will create a guide for setting up your formwork, ensuring that it is accurately placed according to your plans. Remember to account for the thickness of the formwork material when measuring out its dimensions.
The formwork typically consists of wooden planks or sheets of plywood. These should be cut to size based on the dimensions of your shed slab, ensuring that they are tall enough to contain the amount of concrete you plan to pour.
To establish the formwork, secure each piece into place using wooden stakes hammered into the ground along the outside edges. Ensure they are level so that your slab isn’t uneven. The tops of these stakes should be lower than the top of your formwork to prevent them from interfering with the screed during leveling. Use nails or screws to attach the formwork panels to these stakes securely.
The corners are an essential part of your formwork setup because they need to be rigid enough to withstand the pressure of the wet concrete without buckling or becoming misshapen. Reinforce these areas by creating right angles with additional pieces of wood or metal brackets.
It’s crucial to check your formwork setup for any gaps or openings. Any leaks could cause the wet concrete to escape, leading to weak points in your finished slab. Seal off any gaps using silicone or a similar sealant that can prevent the concrete from leaking through.
Lastly, before you begin pouring, use a level to ensure that the top of your formwork is perfectly flat. This step will help you achieve a smooth and even shed slab when the concrete is poured and leveled.
Setting up the formwork correctly is a critical step in how to pour a shed slab. It ensures that your finished slab will be the right size, shape, and thickness, providing a solid and durable foundation for your shed.
Mixing Concrete
One of the most integral parts on ‘how to pour a shed slab’ is mixing the concrete. This process is the backbone of your entire project and mastering it will ensure a smooth and resilient shed slab. Here’s a simple step-by-step guide on how to mix your concrete properly.
First things first, you’ll need concrete mix. The amount will vary depending on the size of your shed slab, but it’s always better to have more than not enough. Don’t forget, you can always use any leftover mix for small repairs around the house. The next essentials are water and a mixing platform, such as a wheelbarrow or a cement mixer if you’re working with larger quantities.
Start by pouring your dry mix into the wheelbarrow or mixer. Add water gradually as per the instructions on the concrete mix bag, ensuring that you do not overwater. Too much water can weaken the final product, while too little can leave it crumbly and uneven. A good rule of thumb is to aim for a consistency similar to thick cake batter.
Combine the mixture using a shovel or, if you’re using a cement mixer, let it do the work for you. Make sure to mix thoroughly until all the components are evenly distributed and there are no pockets of dry powder left. This is an essential step in achieving strong, durable concrete for your shed slab.
Once your concrete is mixed to the right consistency, it’s time to pour it into your pre-prepared formwork. It’s advisable to have some assistance at this stage; while one person pours, another can spread and level out the mix with a trowel or other flat tool.
The speed at which you work here will depend on the weather conditions – hot or windy weather can cause your mix to dry out quicker, so you may need to work a bit faster. You’ll also want to make sure you’re pouring and spreading evenly, as unequal distribution can lead to instability and cracking.
Remember, concrete is highly caustic and can cause burns or skin irritation. Always use proper safety gear, including gloves and safety glasses, when mixing and handling concrete.
So there you have it – mastering the art of mixing concrete is not as daunting as it may seem. With these tips in mind, you’ll be well on your way to creating a sturdy and durable shed slab for all your storage needs.
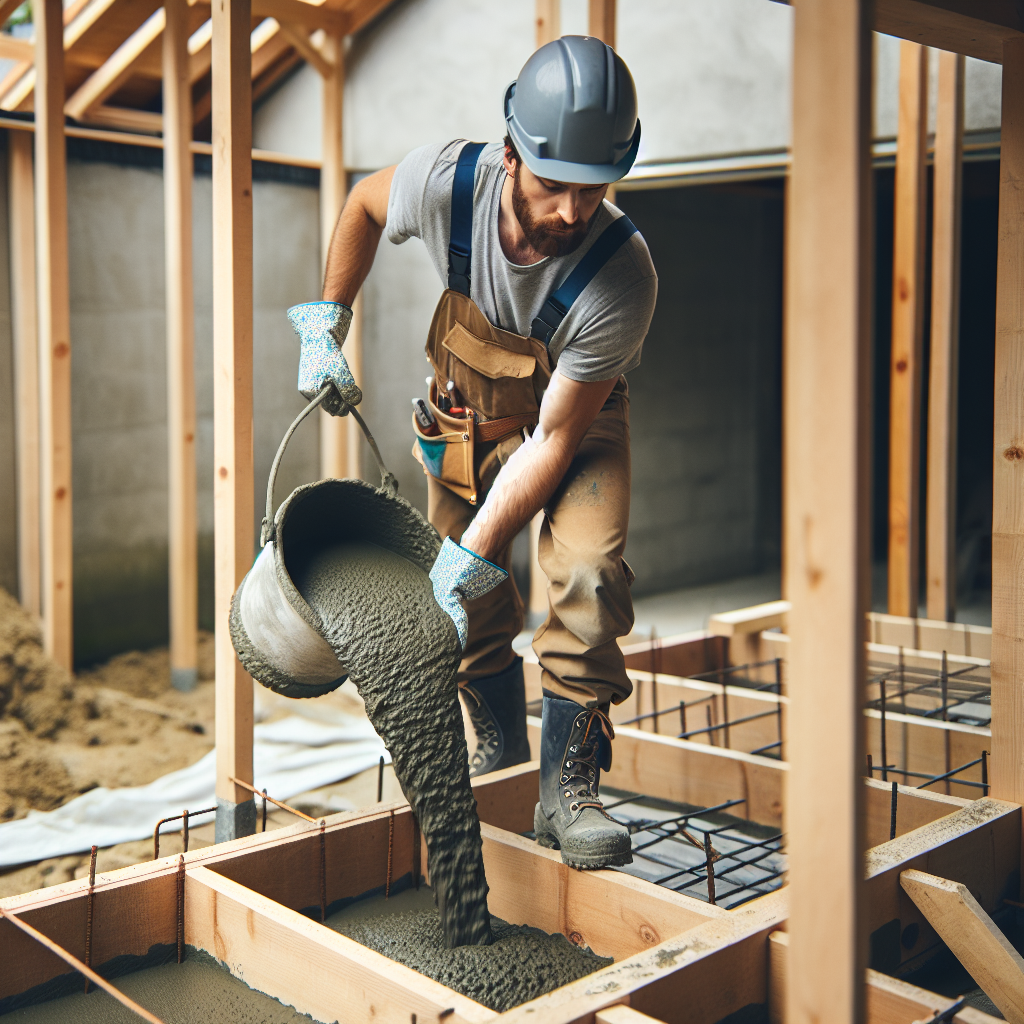
Pouring the Concrete
Once you’ve prepped the area, created the forms and installed your gravel base, it’s time to move onto the main event – pouring the concrete. This is arguably the most critical part of ‘how to pour a shed slab’. It requires precision and quick work so that the concrete does not begin to solidify before it is evenly distributed and properly levelled.
Before starting, make sure you have all your tools ready. You will need a wheelbarrow or concrete mixer, a shovel, a rake, and a screed board. If you’re wondering what a screed board is, it’s simply a straight piece of lumber that is longer than your form’s width. It’s used to smooth and level the surface of the concrete after it is poured.
The first step involves mixing the concrete according to manufacturer’s instructions. You can do this in a wheelbarrow or with a concrete mixer depending on the size of your project. It’s generally recommended to use about 2.5 bags of concrete mix per square foot of your slab. But always check the instructions on the bag for specific mixing ratios as they can vary brand by brand.
Then, swiftly pour the freshly mixed concrete into your prepared form, starting at one end and working your way towards the other. Be careful not to splash or spill any of the mixture outside of your wooden form.
In order to ensure even distribution and eliminate air pockets within the slab, use a shovel or rake to spread out and consolidate the wet concrete evenly throughout the form. Remember to work quickly as you don’t want your concrete starting to cure before you’re done leveling and smoothing it.
Next up is screeding. Take your screed board and proceed to level off excess wet concrete by dragging it across the top edges of your form. This action will not only get rid of excess concrete but also help in achieving a flat, level surface.
After screeding, there’s likely to be small holes or voids on the surface. You can smoothen these out using a concrete float in sweeping arcs. This will push down the aggregate and bring the ‘cream’ of the concrete to the surface for a smooth finish. Once it’s all done, you can give yourself a pat on the back. You’ve successfully completed pouring your shed slab!
Leveling and Finishing the Slab
Once you’ve prepared the site and set up the forms, it’s time to move on to the crucial stage of pouring your shed slab – leveling and finishing the slab. This step is crucial because it will determine the overall quality and smoothness of your shed slab. The process might seem a bit daunting at first, but with careful planning, anyone can learn how to pour a shed slab.
The first stage of leveling involves screeding. Once your concrete has been poured into the forms, you’ll need to screed it. This involves moving a long flat tool called a screed board back and forth across the top of the formwork to level out the wet concrete. This action removes excess concrete and fills in any low spots, creating a flat, even surface. It’s vital to do this while the concrete is still wet and malleable.
Next comes “bull floating.” After you have screeded the concrete, there will still be small grooves and voids left by the screed board. To eliminate these, use a bull float immediately after screeding. The float is dragged across the surface of the concrete using a sweeping motion, which pushes down the aggregate and brings the “cream” or paste up to the surface.
Now you’re ready for edge finishing. If your slab borders are exposed, it’s important to finish them properly. An edging tool is used for this purpose. Run this tool along your borders to round them off which helps prevent chipping or cracking in future.
The final step in finishing a shed slab is brooming. Once your slab has started to firm up but is still damp enough to be worked (usually after waiting several hours), you’ll want to gently drag a broom across its surface. This creates slight ridges that provide traction when walking on the finished slab.
Remember, the key to a successful shed slab is patience. Each step in the leveling and finishing process needs time to be completed correctly, so don’t rush it. If you take your time and do each step carefully, you’ll end up with a beautiful, smooth, and level shed slab that will serve you well for years to come.
Learning how to pour a shed slab might seem challenging at first glance. But with some practice and attention to detail, it can be an immensely satisfying DIY project. So why not give it a try? You may just discover a new skill and save some money in the process!
Curing the Concrete
In our step-by-step guide on ‘how to pour a shed slab’, one of the most crucial stages is curing the concrete. This process is not one that should be overlooked or rushed. Curing is an essential step that ensures your shed slab achieves optimal strength and durability.
Once you’ve successfully poured and smoothed your slab, don’t make the mistake of thinking your work is done. The real magic (and science!) happens in the curing stage. As the water in the mix evaporates, it initiates a chemical reaction known as hydration, which ultimately leads to the hardening of your concrete slab.
Start the curing process as soon as the poured concrete has set enough that you can walk on it without leaving impressions. Covering the slab with plastic sheets or curing blankets helps retain moisture and keep it from drying out too quickly. If you’re pouring in hot, dry weather, or if your slab is exposed to wind, these extra measures are particularly important.
The longer you allow your concrete to cure, the stronger it will be. The general rule for curing time is 28 days at a minimum. However, significant strength gains can still be made after this period. During this time, ensure that the slab remains moist. You can achieve this by occasionally sprinkling water over it or reapplying your covering if it gets blown away or damaged.
While waiting for your slab to cure might seem like a test of patience, remember that this stage is critical for creating a durable and robust base for your shed. A well-cured concrete slab will resist cracking and weathering, providing a solid foundation that will stand up to heavy loads and last for years to come.
Now that you understand how vital curing is when learning how to pour a shed slab, you’ll appreciate why it’s worth the wait. It might be the final step, but it’s certainly not the least in importance. Remember, your shed will only be as reliable as the slab it sits on!
Final Thoughts
As we wrap up our discussion on ‘How to pour a shed slab,’ it’s only fitting to reflect on the importance of each step in this process and how it contributes to the overall effectiveness of your shed foundation. We’ve delved into every detail, from the preparation stage where you stake out the area, excavate the ground and build the forms, to mixing and pouring the concrete.
Perhaps one of the clearest takeaways from our discussion is that pouring a shed slab is by no means an easy task. It requires a significant amount of planning and physical work. However, having a solid, level foundation for your shed can prevent many problems in the future, such as water damage or structural issues.
While this guide has focused mainly on DIY methods, remember that professional help is always available. If you feel overwhelmed by any part of the process, don’t hesitate to call in professionals who are skilled in this area. They have both the knowledge and the equipment to get the job done right.
Whether you decide to take on this project yourself or hire a professional, understanding ‘how to pour a shed slab’ will certainly help you appreciate the work that goes into creating such a robust and enduring foundation. More importantly, it will give you the confidence to make informed decisions about what’s best for your shed.
In conclusion, pouring a shed slab may be labor-intensive but it is undeniably crucial in ensuring longevity for your shed. Don’t skimp on this step – take your time, follow the instructions closely, and most importantly, don’t forget safety precautions.
Remember, your investment in this process will pay dividends by providing a sturdy platform for your shed for years to come. So go ahead, roll up your sleeves and enjoy the satisfaction that comes with building something with your own hands!